Bite alarm guides
Bite Indicators, Hangers and Swingers Explained
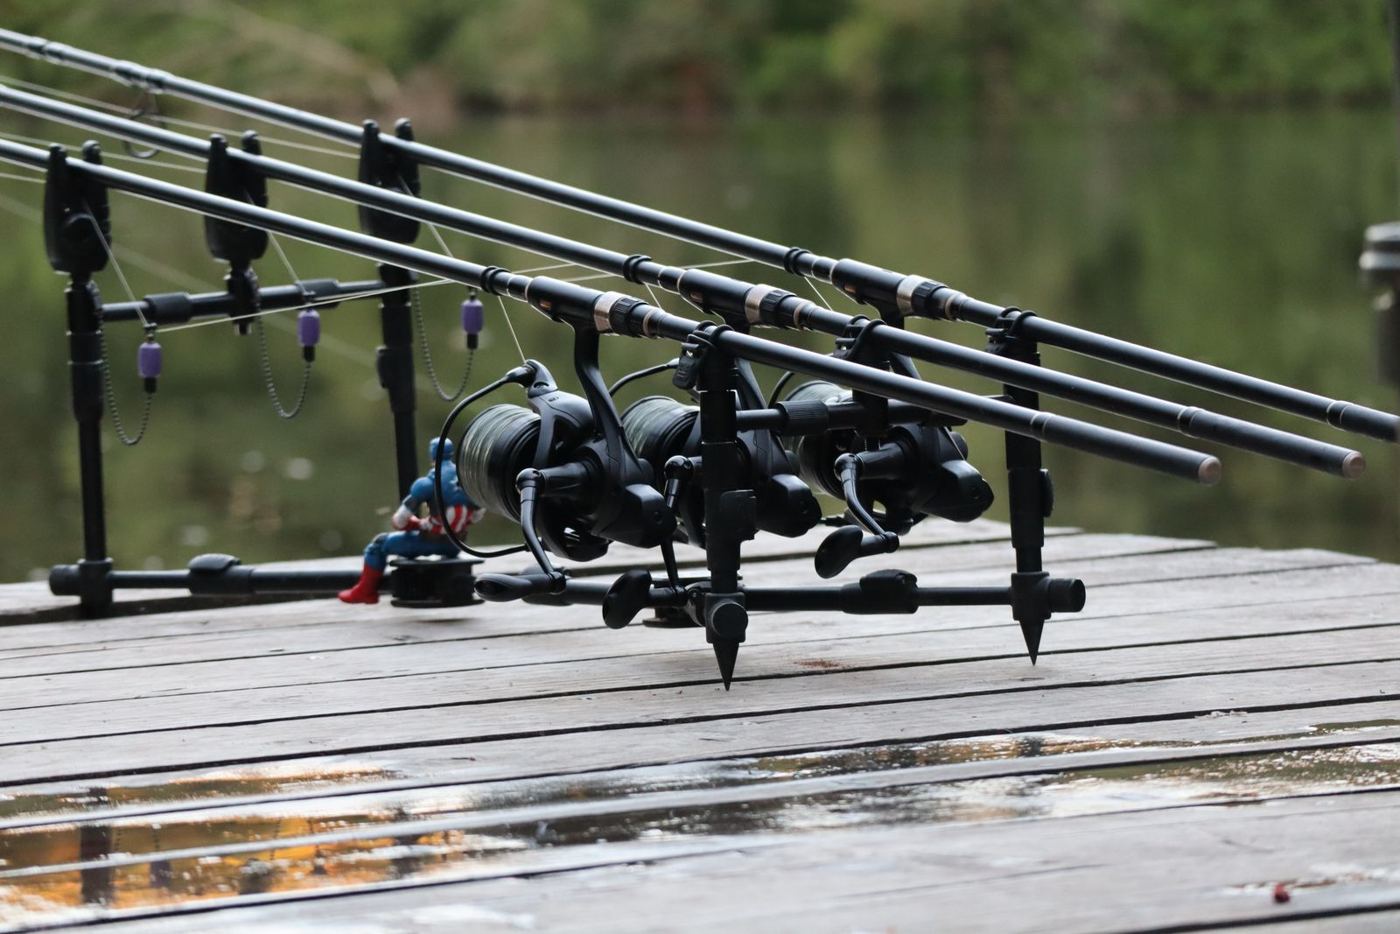
An alarm only tells half the story. Hangers, bobbins and swingers keep the line in contact with the sensor and show drop-backs clearly.
In short
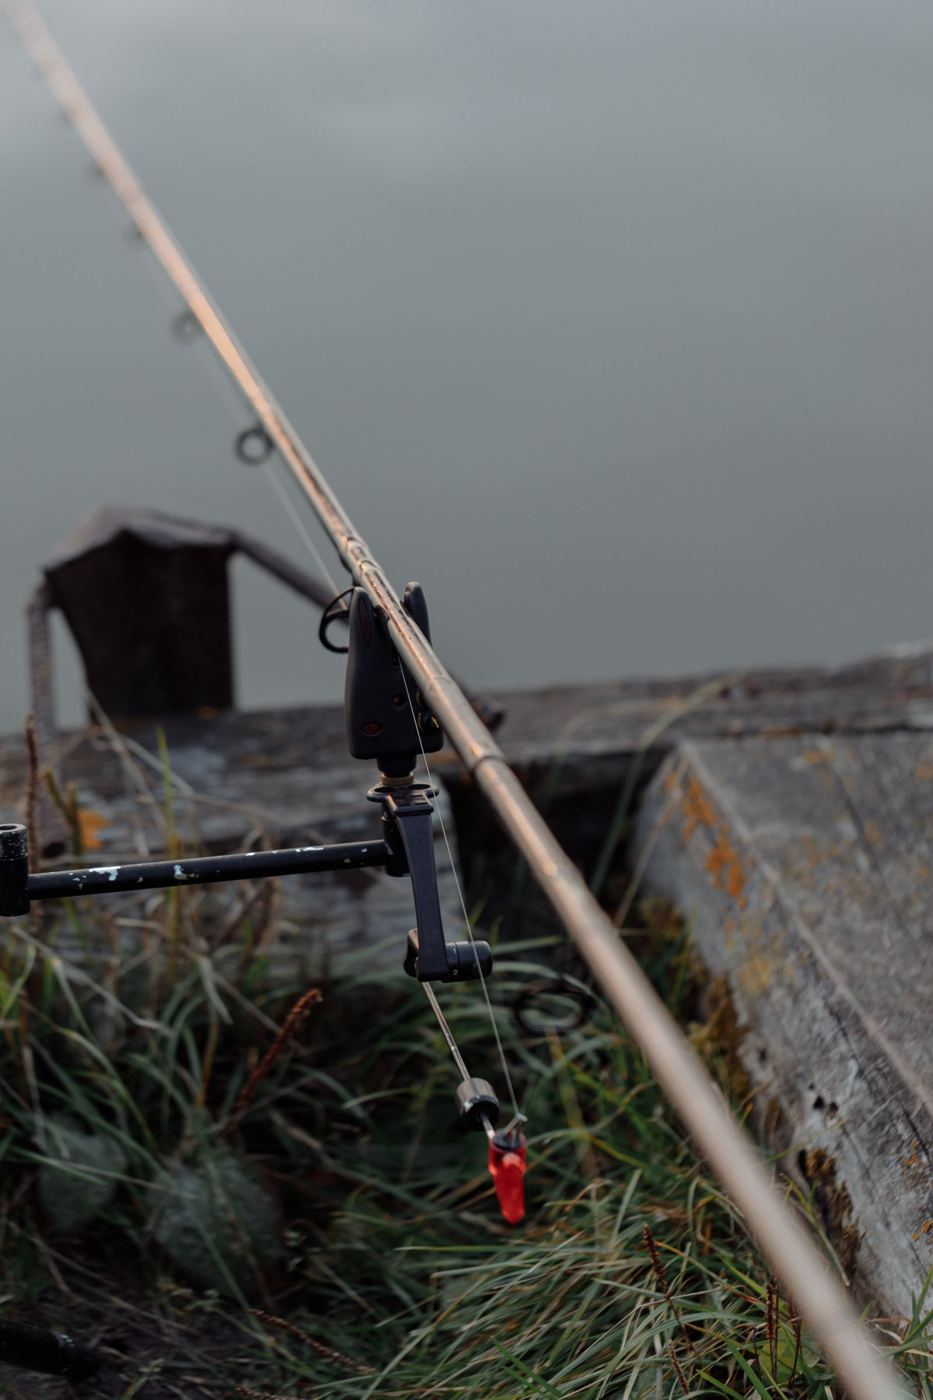
- An indicator clips onto the line between reel and alarm, keeps the line against the sensor and shows drop-backs.
- Hangers and bobbins hang on a cord or chain; swingers are on an arm hinged below the alarm.
- Use the lightest indicator the conditions allow, adding weight for wind, undertow and long range.
- Illuminated indicators plug into a socket on the alarm and light up in time with it.
Why you need an indicator
Bite alarms react to line moving across their sensor. Without something to keep the line in contact, a slack line can lift off the wheel, and a fish swimming towards you may barely register. An indicator solves both problems: its weight holds the line down, and when the line goes slack it drops, which the alarm reads as a drop-back. Fox advises using the Mini Micron X with a bobbin, hanger or swinger for the best indication, and the same applies to every alarm.
Types of indicator
Hangers and bobbins
A weighted body that clips onto the line and hangs from a cord or chain attached to the rear bankstick or buzz bar. Simple, cheap and easy to adjust: add or remove weight to suit the conditions. Nash's Night Glo bobbins, for example, come in 8 g and 15 g versions, each supplied with two 5 g drag weights.
Swingers
An arm hinged on a bracket under the alarm, with an adjustable weight that slides along it. Swingers resist wind better than hangers because the arm can't swing sideways, and moving the weight changes the tension precisely. They're popular on big, open waters.
Slap heads and drop-arms
Arm-style indicators that attach directly to some alarms. Nash's R4 accepts its Night Glo swing arms through the MMCX connector, and supplies a converter so conventional bobbins and Slap Heads can connect too.
How heavy should it be?
| Conditions | Indicator set-up | Why |
|---|---|---|
| Calm, short range | Light, hanging a few cm below the rod | Shows small lifts and drops clearly |
| Windy or undertow | Heavier, or a swinger | Stops line bouncing across the sensor |
| Long range, tight lines | Heavier, set close to the rod | Shows drop-backs at distance |
| Slack lines | Light, dropped low | Keeps the line on the sensor without tightening it |
There's no single right answer; start light and add weight until stray bleeps stop. Our set-up guide walks through it step by step.
Illuminated indicators
Many alarms have a socket that powers an illuminated indicator, so the hanger glows in time with the alarm LED. That makes it easy to see which rod moved and whether the indicator rose or dropped.
- 2.5 mm jack: the most common socket, used by Delkim (NiteLite), Fox, Sonik and Trakker.
- MMCX bayonet: used by the Nash Siren R4 with a converter for other indicators.
- Smart ports: Wolf's Icon alarms use their own indicator port to link to Icon accessories.
Check compatibility before buying illuminated indicators from a different brand from your alarms.
Setting the drop step by step
- Cast out, put the rod on the rests and tighten up until the line is straight but not taut.
- Open the bail arm or set a light clutch, and clip the indicator on between reel and alarm.
- Pull a little line off so the indicator hangs about halfway between the rod and the ground. This "drop" leaves room for it to fall on a drop-back and rise on a run.
- Close the bail arm or set the baitrunner, then watch for a minute. If the indicator creeps up or down on its own, adjust the weight or the drop.
- Repeat for each rod, keeping the drops similar so you can read them at a glance.
Matching indicators to your alarms
| Alarm | Indicator connection | Notes |
|---|---|---|
| Delkim Txi-D v2, Ev-D | 2.5 mm NiteLite socket | Delkim illuminated hangers; Safe-D and D-Lok systems |
| Nash Siren R4 | MMCX bayonet | Night Glo range; converter for Slap Heads and bobbins |
| Wolf Icon X1, Icon Qi | Smart indicator / IQ port | Wolf Icon accessories |
| Fox Mini Micron X | 2.5 mm jack | Illuminated indicators |
| Sonik Herox | 2.5 mm power-out | Illuminated indicators |
| Trakker DB7-R | 2.5 mm power-out | Illuminated indicators |
| Steve Neville Remote | No rear socket | Use non-illuminated hangers or swingers |
Common indicator mistakes
- Too heavy on a short, slack line: masks small drop-backs.
- Too light in a crosswind: the indicator dances and the alarm bleeps.
- Cord too short: the indicator can't drop far enough to show a drop-back clearly.
- Clip too tight: a running fish drags the rod instead of pulling the line free.
Line clips
Most indicators grip the line with a clip. Set the clip tension so a running fish can pull the line out without dragging the rod round, and use a wider clip for slack-line fishing. Some hangers use magnetic clips that release cleanly.
Now you know the whole system, compare alarms in our comparison table or read how bite alarms work.
Questions and answers
Do I need bite indicators with my alarms?
Yes, for the best indication. A hanger, bobbin or swinger keeps the line against the alarm's sensor and shows drop-backs clearly. Indicators explained.
Alarms covered in this guide
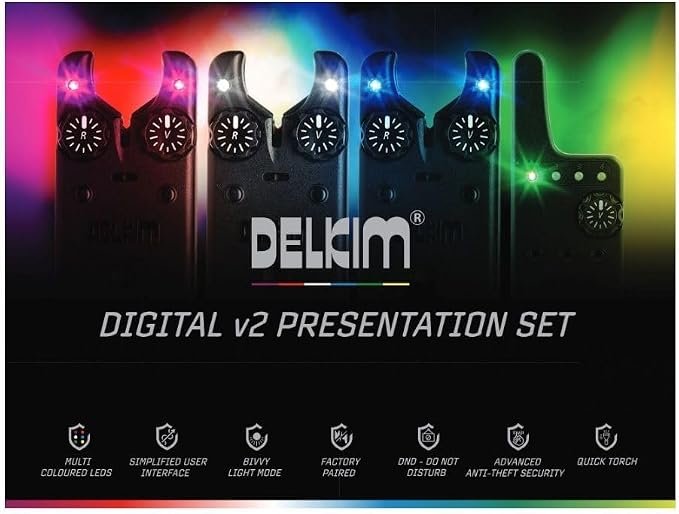
Delkim Txi-D v2 Presentation Set
Delkim's flagship piezo vibration alarm with 32 tones, six LED colours and the Rx-D v2 receiver.
View full specs (Delkim Txi-D v2 Presentation Set)
Nash Siren R4 Bite Alarm
Nash's flagship alarm, built around speed-responsive sensing, with a USB-C rechargeable receiver rated beyond…
View full specs (Nash Siren R4 Bite Alarm)
Wolf Icon X1 Bite Alarm
A compact UK-made alarm with a 1000 mAh rechargeable battery, USB-C charging and HUBB receiver link.
View full specs (Wolf Icon X1 Bite Alarm)As an Amazon Associate we earn from qualifying purchases. Some other links on this site are affiliate links too; it never changes the price you pay.